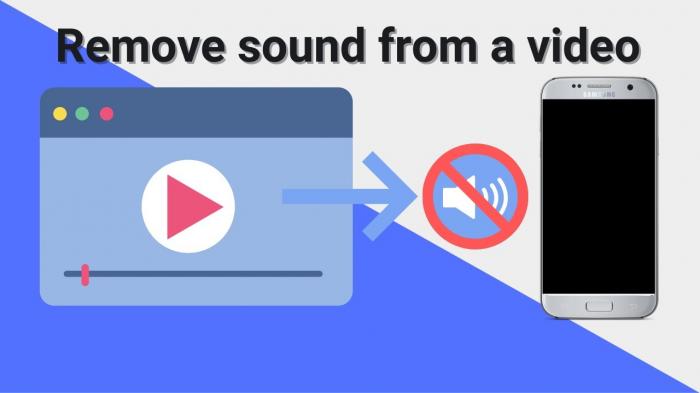
The Ultimate Tutorial on How to Remove Sound from Videos
How to Remove Sound from Videos

Video content creation has become more accessible than ever, thanks to tools and software that can help bring your vision to life. However, there are times when the audio in your videos may not quite hit the mark, or you may need to remove sound altogether for a particular project. Whether you’re looking to clean up background noise, remove dialogue, or simply want a silent video, knowing how to effectively remove sound from your videos is a crucial skill to have.
One of the most straightforward ways to remove sound from videos is by utilizing editing software such as Adobe Premiere Pro, Final Cut Pro, or even Windows Movie Maker. These powerful tools offer a range of features that make it easy to manipulate and edit audio tracks. By following simple steps and utilizing the mute function or deleting the audio track altogether, you can effortlessly remove sound from your videos.
If you prefer a more user-friendly approach, there are also online tools available that can help you remove sound from your videos with just a few clicks. These web-based solutions are perfect for quick edits and projects that don’t require advanced editing features. Simply upload your video file, select the option to remove sound, and download the newly muted video in a matter of seconds.
Regardless of your editing skill level, knowing how to remove sound from videos is a handy trick that can enhance the quality of your content and make your videos more versatile. With the right tools and a bit of practice, you’ll be able to create stunning visuals without the distraction of unwanted audio.
The Importance of Removing Sound from Videos

When it comes to creating high-quality videos, sound plays a crucial role in capturing the attention of your audience. However, there are instances where you may need to remove sound from your videos to enhance the overall viewing experience.
One of the key reasons for removing sound from videos is to eliminate any background noise or distractions that may take away from the main focus of the video. Whether it’s an unwanted conversation in the background or ambient noise that interferes with the audio clarity, removing sound can help to create a more polished and professional end product.
Another important reason for removing sound from videos is to allow for greater flexibility in post-production. By separating the audio from the video, you can easily manipulate and edit each component independently. This can be particularly useful when adding in background music, voiceovers, or sound effects to enhance the overall narrative of your video.
Additionally, removing sound from videos can also be a strategic choice for certain types of content. For example, in situations where you want to focus solely on visual storytelling or create a silent film effect, removing sound can help to achieve the desired cinematic impact.
Overall, the importance of removing sound from videos lies in its ability to improve the overall quality, clarity, and impact of your visual content. By carefully considering when and how to remove sound from your videos, you can elevate the viewing experience for your audience and enhance the storytelling capabilities of your video content.
Tips for Removing Sound from Videos
When it comes to removing sound from videos, there are a few key tips to keep in mind to ensure a smooth and seamless process. Here are some expert tips to help you effectively remove sound from your videos:
1. Choose the Right Tool: Selecting the appropriate software or online tool is crucial when it comes to removing sound from videos. Make sure to use a program that offers precise editing capabilities and a user-friendly interface.
2. Save a Backup: Before you start removing the sound from your video, always remember to save a backup copy of the original file. This way, you can quickly revert to the original version if needed.
3. Adjust the Audio Levels: When removing sound from videos, pay attention to the audio levels to ensure a seamless transition. Make sure to adjust the levels to zero or add a suitable replacement soundtrack if necessary.
4. Use Keyframes: If you’re using advanced video editing software like Adobe Premiere Pro or Final Cut Pro, consider utilizing keyframes to fine-tune the sound removal process. Keyframes allow you to adjust the volume levels at different points in the video.
5. Review the Final Output: Once you’ve removed the sound from your video, take the time to review the final output to ensure that the audio has been completely removed without affecting the video quality.
By following these tips, you can effectively remove sound from your videos while maintaining the overall visual appeal of your content. Remember, practice makes perfect, so don’t be afraid to experiment and refine your techniques for optimal results.
Common Mistakes to Avoid When Removing Sound from Videos
When it comes to removing sound from videos, there are several common mistakes that many people make that can negatively impact the final result. Here are some key pitfalls to avoid:
Not Saving a Backup Copy: One of the biggest mistakes you can make when removing sound from videos is not saving a backup copy of the original file. If something goes wrong during the editing process, you may end up losing the entire video. Always make sure to save a duplicate before making any changes.
Ignoring Audio Levels: Another common mistake is not paying attention to the audio levels when removing sound from videos. If the audio levels are too high or too low, it can greatly affect the overall quality of the video. Make sure to adjust the levels accordingly to maintain a balanced sound.
Overediting: It’s easy to get carried away with editing when removing sound from videos, but overediting can lead to a choppy and unnatural result. Avoid cutting or splicing too aggressively, as this can make the video appear disjointed.
Ignoring Transitions: When removing sound from videos, it’s important to pay attention to transitions between scenes. Abrupt cuts or sudden changes can disrupt the flow of the video. Make sure to add smooth transitions to maintain a cohesive viewing experience.
By avoiding these common mistakes, you can ensure that your videos are seamless and professional-looking, even after removing the sound. With careful attention to detail and a thoughtful approach, you can successfully remove sound from videos without compromising the overall quality.
Tools and Software for Removing Sound from Videos
When it comes to removing sound from videos, having the right tools and software can make the process much easier and more efficient. There are several options available, each with its own unique features and capabilities.
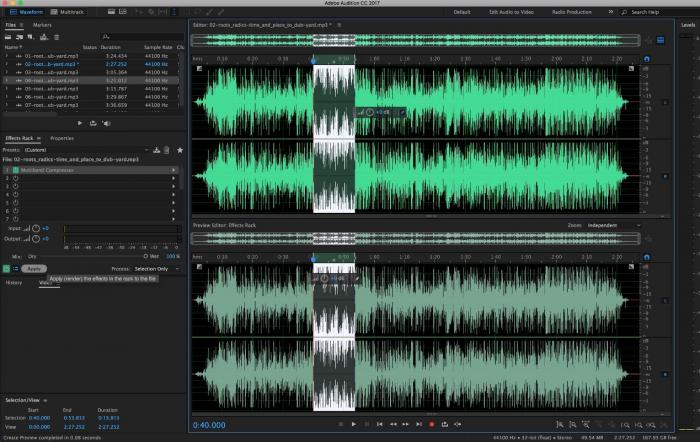
One popular tool for removing sound from videos is Adobe Audition. This professional audio editing software offers a range of tools for editing and manipulating audio, making it perfect for removing unwanted sound from videos. With Adobe Audition, users can easily isolate and remove specific audio tracks, adjust levels, and even add effects to create a polished final product.
Another option for removing sound from videos is Audacity. This free, open-source software is user-friendly and offers a range of features for audio editing. With Audacity, users can easily remove unwanted audio tracks, adjust levels, and even apply filters to improve the overall sound quality of their videos.
For those looking for a more simple and straightforward solution, online tools like Kapwing and Clideo offer easy-to-use interfaces for removing sound from videos. These web-based tools allow users to upload their videos, remove the audio track, and download the edited file in just a few simple steps.
No matter your skill level or budget, there are plenty of tools and software options available for removing sound from videos. Whether you’re a seasoned professional or just starting out, finding the right tool can make all the difference in creating high-quality, engaging video content.
Steps to Remove Sound from Videos Using Adobe Premiere Pro
I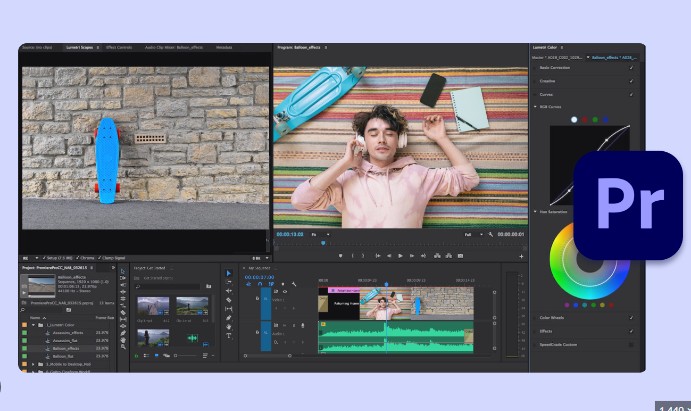
f you’re looking to remove sound from videos using Adobe Premiere Pro, you’re in luck! This popular video editing software offers a straightforward process to help you achieve this task with ease. Follow these simple steps to get started:
Import Your Video: Begin by importing your video file into Adobe Premiere Pro. You can do this by clicking on “File” and then selecting “Import.”
Separate Audio and Video: Once your video is imported, right-click on the video file in the timeline and select “Unlink.” This will separate the audio from the video track.
Delete the Audio Track: With the audio track now separated, simply click on the audio track and press the delete key on your keyboard. This will remove the sound from your video file.
Export Your Video: After you have successfully removed the sound from your video, you can now export the file. Click on “File” and then select “Export” to save your edited video.
By following these simple steps, you can easily remove sound from your videos using Adobe Premiere Pro. This professional editing software offers a user-friendly interface and powerful features to help you achieve your desired results. So, don’t hesitate to give it a try and create soundless videos effortlessly.
Steps to Remove Sound from Videos Using Final Cut Pro
Final Cut Pro is a powerful video editing software that offers a straightforward way to remove sound from your videos. Follow these simple steps to effectively and efficiently remove sound from your videos using Final Cut Pro.
Import Your Video: First, open Final Cut Pro and import the video from which you want to remove the sound. You can do this by clicking on the File menu and selecting Import > Media.
Separate Audio from Video: Once your video is imported, right-click on the clip in the timeline and select Detach Audio. This will separate the audio from the video, allowing you to work on them independently.
Delete the Audio Track: Now that the audio track is separated, you can simply delete it by selecting the audio clip and pressing the Delete key on your keyboard. This will remove the sound from your video.
Adjust the Video: After removing the audio, you may need to make some adjustments to the video to ensure that it looks and sounds the way you want. You can trim the video, add effects, or make any other necessary edits.
Export Your Video: Once you are satisfied with the changes, you can export your video without the sound. Click on the File menu and select Share > Master File to export your video in the desired format.
By following these steps, you can easily remove sound from your videos using Final Cut Pro, ensuring a seamless and professional final product.
How to Remove Sound from Videos on Windows Movie Maker
Are you looking to remove sound from your videos using Windows Movie Maker? Look no further! With just a few simple steps, you can easily get rid of unwanted audio tracks and create a silent masterpiece. Here’s how:
- Open Windows Movie Maker and import the video file you want to edit.
- Once the video is imported, click on the video clip to select it.
- In the toolbar at the top of the screen, you’ll see the “Edit” tab. Click on it to reveal the editing options.
- Look for the “Audio” section in the editing tools. You should see an option to “Mute” or “Remove Audio.” Click on this option to remove the sound from your video.
- Preview the video to make sure the sound has been successfully removed.
- Once you’re satisfied with the result, save your video by clicking on the “Save” button in the toolbar.
Removing sound from videos on Windows Movie Maker is a quick and easy process that can enhance the overall quality of your content. Whether you’re looking to create a silent film or simply want to eliminate background noise, Windows Movie Maker makes it simple to achieve your desired result. Give it a try today and see the difference it can make in your videos!
Using Online Tools to Remove Sound from Videos
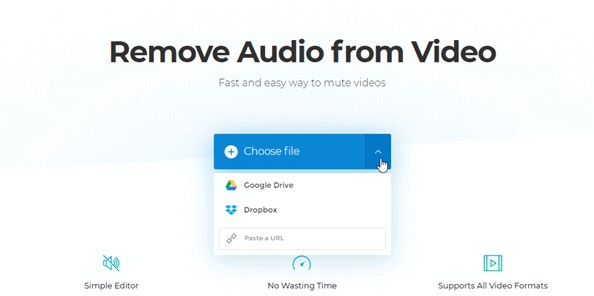
When it comes to removing sound from videos, using online tools can be a quick and efficient solution. Online tools offer a convenient way to remove unwanted audio tracks from your videos without the need for expensive software or extensive technical knowledge. Here are a few online tools that you can use to easily remove sound from your videos:
1. Kapwing: Kapwing is a popular online video editing tool that offers a simple and user-friendly interface. With Kapwing, you can easily upload your video, mute the audio track, and download the edited video in just a few clicks.
2. Clideo: Clideo is another online tool that allows you to remove sound from your videos quickly and easily. Simply upload your video, select the option to remove sound, and download the edited video in a matter of minutes.
3. EZGif: EZGif is a versatile online tool that not only allows you to edit GIFs but also offers a feature to remove sound from videos. With EZGif, you can upload your video, remove the audio track, and save the edited video to your device.
Using online tools to remove sound from videos is a fast and convenient way to enhance your video content. Whether you’re looking to create a silent film or eliminate background noise, these online tools provide a hassle-free solution for editing your videos. Try out one of these tools today and see how easy it is to remove sound from your videos.