How to Record Your Screen on U-NEXT: A Step-by-Step Guide
Introduction to U-NEXT
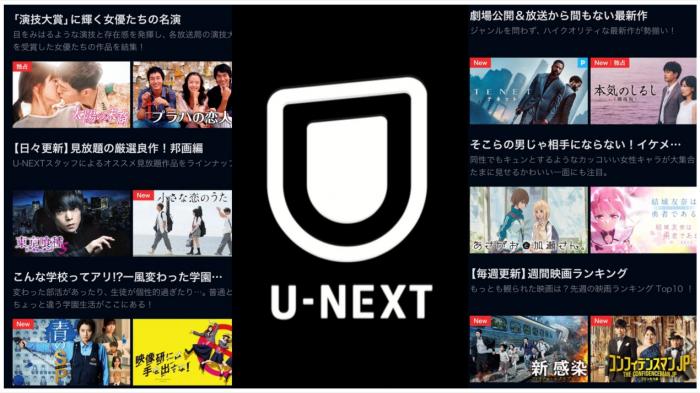
U-NEXT is one of the most popular video streaming services in Japan, offering a number of compelling content. The platform offers viewers a wide range of content, including movies, dramas, animations, documentaries, and sports. Users can enjoy their favorite videos anytime, anywhere using their smartphones, tablets, or computers.
In addition to streaming high-quality videos, U-NEXT also allows users to record and save their screens. This feature allows you to watch back your favorite shows and movies later or capture specific scenes. You can also easily edit and process recorded videos.
U-NEXT's easy-to-use interface and functionality are extremely convenient for video fans and creators. Furthermore, U-NEXT is constantly adding new content to provide users with an enjoyable viewing experience, and by using U-NEXT to record your screen, you can expand the scope of your video production and create high-quality content.
U-NEXT is favored by many viewers throughout Japan as a video delivery service that combines careful image quality and ease of use. We invite you to experience U-NEXT's attractive features and services.
Advantages of Screen Recording on U-NEXT
Screen recording is extremely useful in content creation and collaboration. Using U-NEXT to record your screen offers a number of benefits: the first is the increased opportunity to create professional videos and tutorials. By using U-NEXT's high-quality screen recording capabilities, you can record clear, crisp video and provide more valuable content to your audience.
Another benefit is the ability to improve real-time collaboration. With U-NEXT, online meetings and demonstrations can be facilitated. Sharing a screen allows members to share ideas and communicate effectively with each other.
By taking advantage of these benefits, screen recording using U-NEXT is expected to play an active role in a variety of fields, including business, education, and entertainment. We encourage you to take advantage of U-NEXT for effective screen recording and take a step forward toward achieving your goals.
U-NEXT Screen Recording Step 1: Download U-NEXT
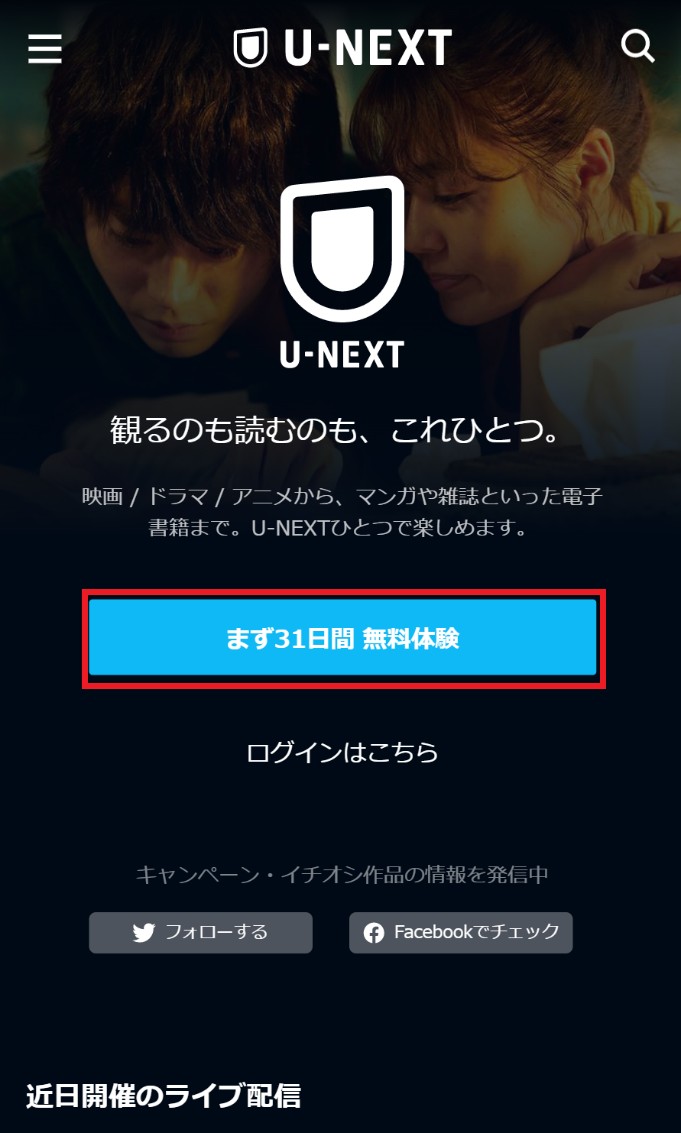
To use U-NEXT to record your screen, you must first download the U-NEXT application, which is easy to use, provides high-quality screen recording, and utilizes the latest technology. The download procedure is very simple and can be done easily by following the steps below.
First, download the U-NEXT app from the App Store or Google Play Store, depending on your device. The app is provided free of charge and requires a Wi-Fi connection to download. Once download is complete, open the app and create a U-NEXT account or login to your existing account.
With the U-NEXT app downloaded, you are ready to easily record your screen. Follow the next step to set up the U-NEXT app and get ready to start recording your screen.
Free Trial
U-NEXT Screen Recording Step 2: How to set up U-NEXT screen recording
In order to use U-NEXT to record your screen, you must first make a few simple settings. Below are the steps to set up U-NEXT to the optimal settings for screen recording.
Log in to your account: First, go to the U-NEXT website and log in to your account. After logging in, select "Settings" from the drop-down menu in the upper right corner of the screen.
Select screen recording options: Once on the "Settings" page, select "Screen Recording" from the menu on the left. Here you can change your recording settings, including recording resolution and frame rate.
Set audio options for recording: If you want to record audio during screen recording, set the audio options; U-NEXT allows you to choose whether to use the built-in or external microphone or disable audio.
Select recording area: Before starting screen recording, select the area to be recorded; U-NEXT allows you to select the entire screen or a specific window.
Once you have completed these settings, U-NEXT is ready for screen recording and you can easily record your screen. Once you have completed the settings, proceed to the next step.
U-NEXT Screen Recording Step 3: Recording your screen with U-NEXT
Recording your screen is very useful for creating video tutorials or recording presentations, and the process of recording your screen using U-NEXT is very easy and can be completed in a few steps.
First, open the U-NEXT application. Select the Record option in the upper left corner of the screen. Next, select the screen you wish to record and begin recording. While recording, a symbol will appear on the screen to indicate that recording is in progress.
To end recording, select the recording option within the U-NEXT app again and stop recording. The screen recording is now complete and saved. If you wish to edit, you can do so quickly within the U-NEXT app and make any necessary changes.
Recording your screen using U-NEXT is an effective way to share information and streamline your work process. We encourage you to try this step.
U-NEXT Screen Recording Step 4: Edit and Save the Screen Recording
After making a screen recording, it is very important to edit and save it; here are the steps to easily edit and save it using U-NEXT.
First, open the U-NEXT application and select the recorded video. Playback the video and cut out any unnecessary parts. Once editing is complete, select the format in which you would like to save the recorded video.
U-NEXT supports many saving formats, allowing you to choose the format you prefer. Common formats include MP4 and AVI, which are convenient for playback and sharing.
Finally, select a destination to save the video. When choosing a destination, keep in mind the storage capacity of your device. If necessary, you can also save to cloud storage.
By editing and saving your screen recording, you can create a more professional looking video and share it effectively; take advantage of U-NEXT's editing features to create an engaging video.
Tips for Optimizing Screen Recording with U-NEXT
Here are some tips for improving image quality and efficiency when using U-NEXT to record your screen
Adjust the resolution: When recording screens, adjust the resolution to the optimal setting to obtain a clear, crisp image. Select the appropriate level, as too low a resolution will make it difficult to see information.
Check microphone settings: Audio is another important factor. Proper microphone settings during screen recording will provide clear audio for the viewer.
Mouse cursor visibility: The visibility of the mouse cursor can be adjusted to visually indicate on-screen actions. It can be emphasized in necessary situations to help viewers understand.
Take advantage of editing functions: U-NEXT also offers editing functions after screen recording. By cutting unnecessary parts or adding text or graphics, you can create a more attractive video.
By following these tips, you can improve the quality of your screen recordings with U-NEXT and produce more effective content.
Troubleshooting Common Problems with U-NEXT
If you experience problems with U-NEXT screen recording, do not worry. Below are some common problems and their solutions.
Problem 1: U-NEXT screen recording stops halfway through
Solution: First, check your Internet connection. A slow connection may be the cause of the stoppage. Also, try restarting the device or reinstalling the U-NEXT application.
Problem 2: The screen-recorded video is blurry.
Solution: Blurry video may be a problem with the picture quality settings, try adjusting the picture quality in the U-NEXT settings. Adjusting the resolution of your device may also help.
Problem 3: Recording file not found
Solution: If you cannot find the recording, try restarting the application. In addition, check to see if the save location is set properly.
These are the most common problems with U-NEXT screen recordings and how to solve them. We hope these tips will help you enjoy a smooth recording experience.
Frequently Asked Questions about U-NEXT Screen Recording
Here are some frequently asked questions about screen recording on U-NEXT.
Q: Which operating systems are supported for screen recording on U-NEXT? | U-NEXT
A: U-NEXT supports both Windows and MacOS, and you can easily perform screen recording on either on your computer.
Q: Can I customize the resolution and file format of screen recordings?
A: Yes, U-NEXT allows you to customize the recording resolution and file format. You can adjust the settings to your liking and create high-quality recordings.
Q: Do I need to subscribe to a paid plan to use U-NEXT's screen recording function?
A: No, the U-NEXT screen recording feature is available free of charge. There are no additional fees or paid plans to subscribe to, and you can start recording your screen right away.
Answering these questions will help you better understand U-NEXT's screen recording function and make smooth use of it.
U-NEXT Screen Recording Conclusion and Final Thoughts
Recording your screen using U-NEXT is an easy and convenient way to record your screen. Through this step-by-step guide, you can easily learn how to download, set up, and record your screen with U-NEXT. You also learned how to edit and save your screen recordings and tips on how to optimize your screen recordings using U-NEXT.
U-NEXT makes it easy to record your screen for a variety of uses, including video tutorials, presentations, and recording gameplay. They also learned how to troubleshoot problems and frequently asked questions to get the most out of U-NEXT's screen recording capabilities.
Finally, by using U-NEXT to record your screen, you can create creative content, share information, and learn more efficiently, and by mastering the use of U-NEXT, you will discover new possibilities for your skills and business.
Take advantage of U-NEXT to get the most out of your screen recordings, and get new results. So, take full advantage of U-NEXT, create your own compelling content, and shine in the online world.